Backing Up and Restoring Workstations
Backup the Workstations
Note
This workflow will create a single USB drive with the data backed up from all Tails drives. If instead you’d like to create a single duplicate Tails drive, you should follow the official documentation maintained by the Tails project.
Now that you have set up the Secure Viewing Station, the Admin Workstation, and your Journalist Workstations, it is important you make a backup. Your USB drive may wear out, a journalist might lose their drive, or something completely unexpected may happen.
In all these cases, it is useful to have a backup of your data for each device.
What You Need
You will need your existing SecureDrop Tails USB sticks (Admin Workstation, Journalist Workstation, and Secure Viewing Station).
You will also need an airgapped machine to perform the backups. The Secure Viewing Station may be used for this task.
You will also need a “primary” Tails USB, which we will use to perform the backups.
You also need at least one USB drive to backup the data from your current SecureDrop Tails USB sticks.
Warning
An airgapped machine (such as the Secure Viewing Station) is required in order to perform these backups safely. By isolating the machine from all network access, you reduce the exposure of sensitive data to networked computers, thereby reducing the threat of compromise by adversaries who wish to gain access to your SecureDrop instance.
The airgapped machine should have 3 USB ports, so you can plug in the primary Tails USB drive, the Tails drive you want to backup, and the backup drive at the same time. If you don’t have 3 USB ports available you can use a USB hub which may reduce transfer speeds.
Note
The steps in this section should be performed for each Secure Viewing Station, Journalist Workstation, and Admin Workstation USB drive in your organization.
Preparing the Backup Device
First you must boot the primary Tails USB drive. Ensure you set an administrator password set at the login screen. Then navigate to Apps ▸ Utilities ▸ Disks.
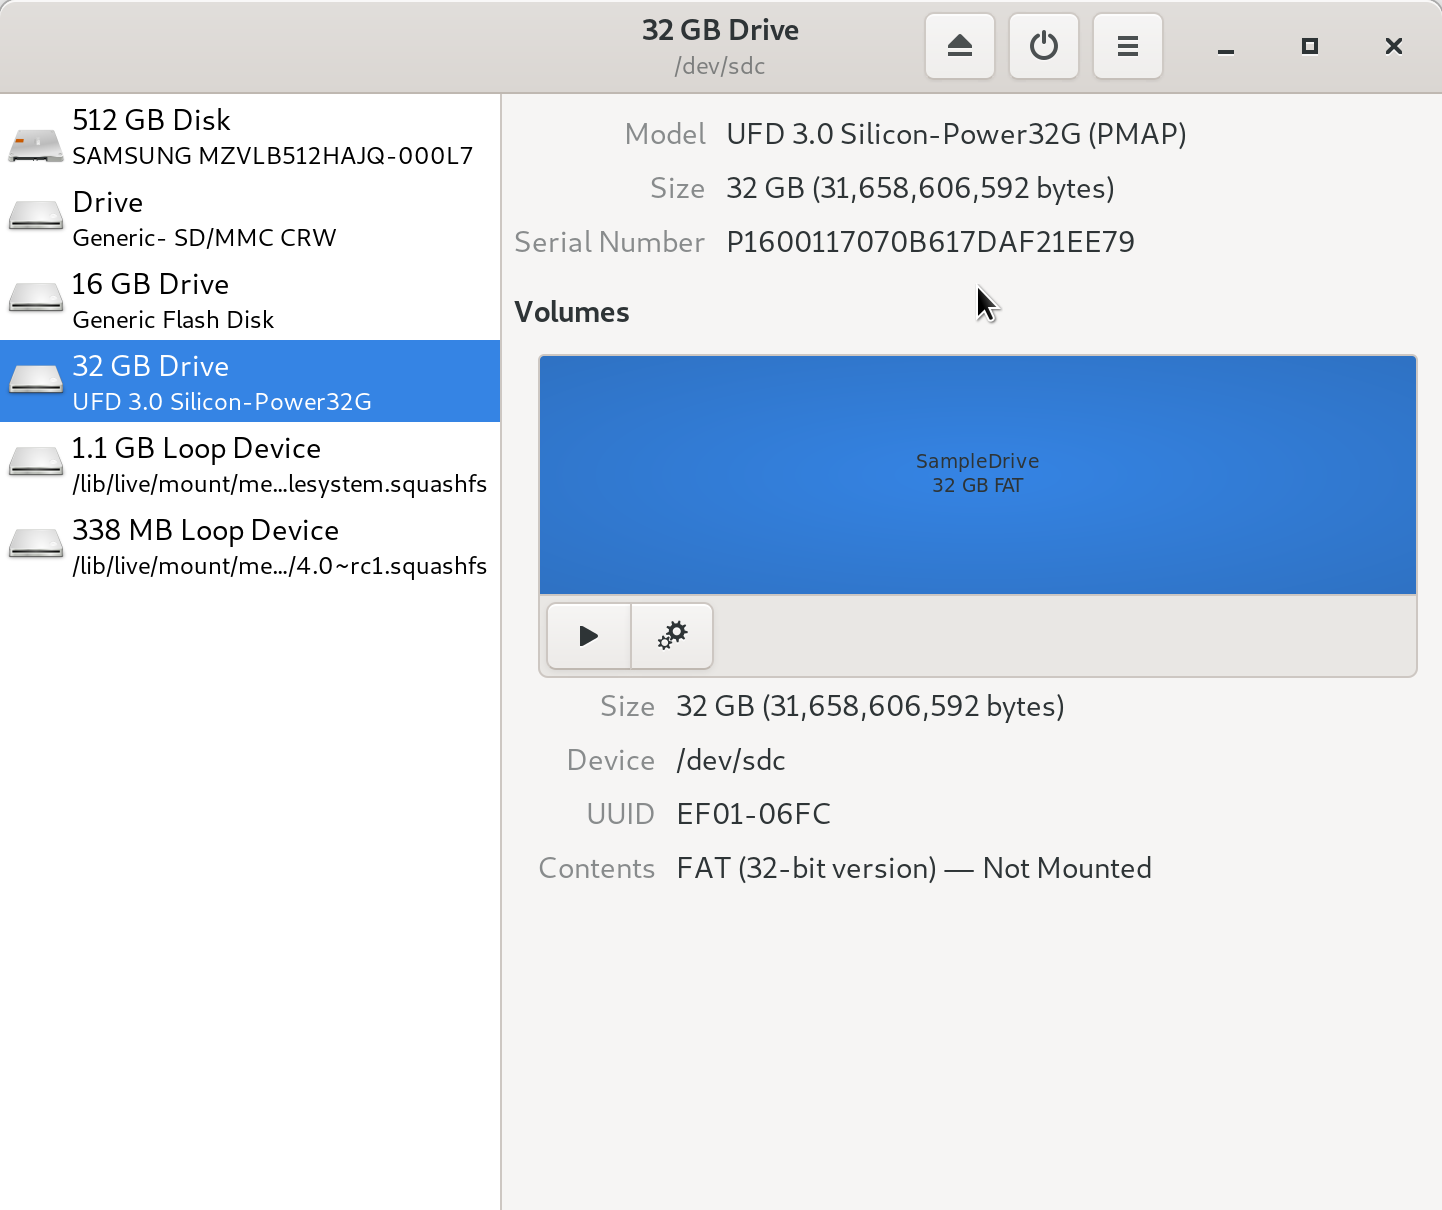
Insert the USB drive you wish to use as a backup drive.
Select the drive from the list of drives in the left column.
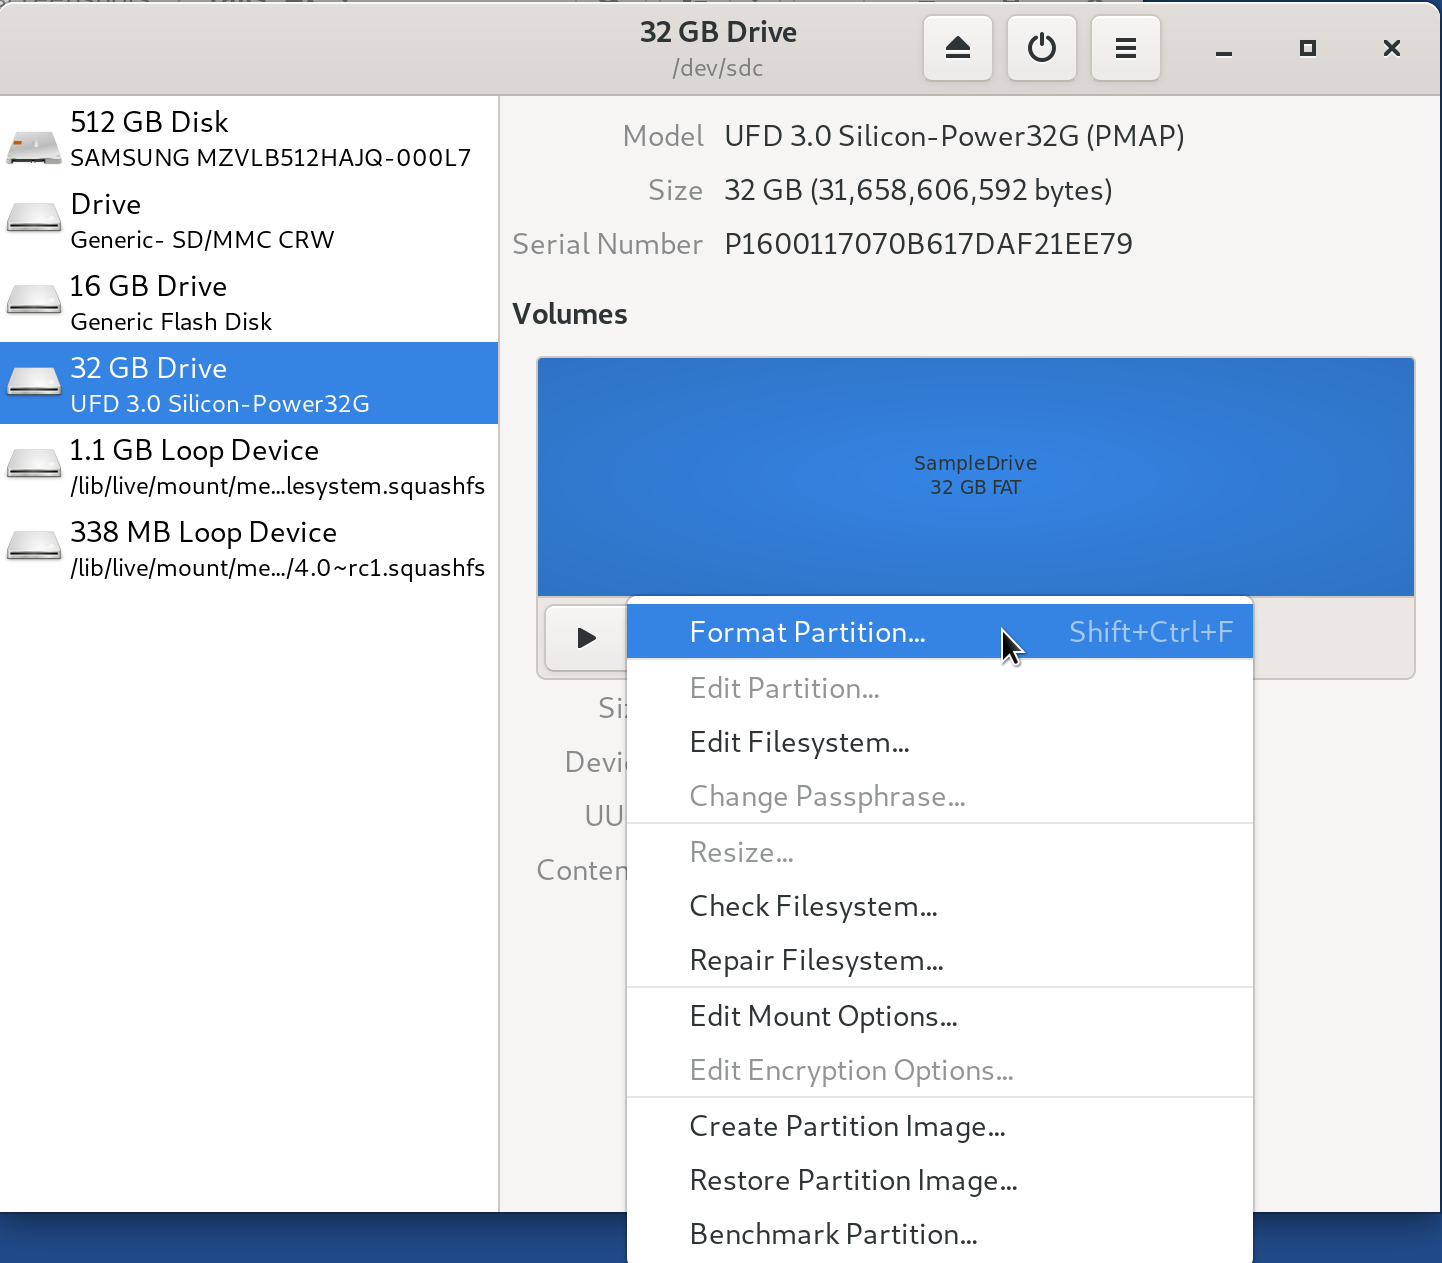
Click the button with the two cogs and click Format Partition….
Fill out the form as follows:
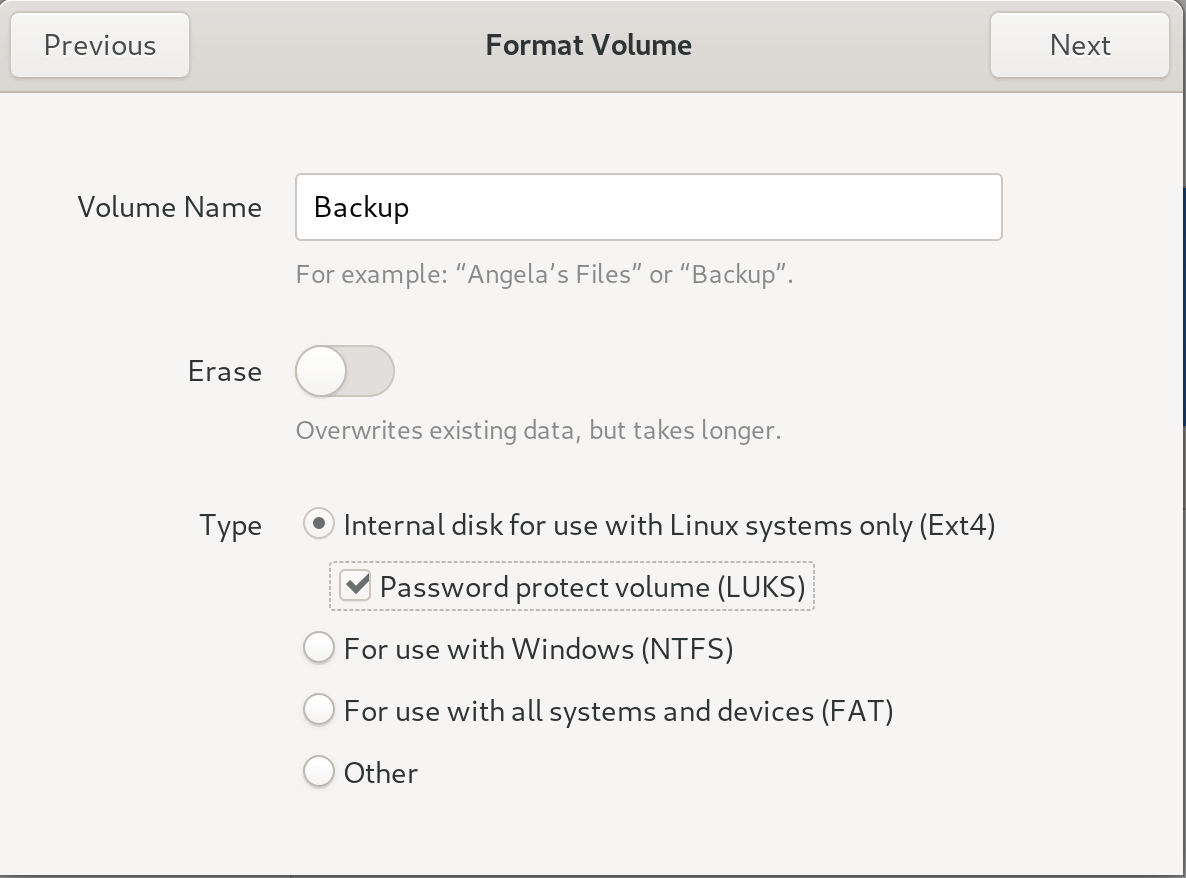
Erase: Don’t overwrite existing data (Quick)
- Type: Internal disk for use with other Linux systems only (Ext4), and
make sure Password protect volume (LUKS) is checked
Name: Backup
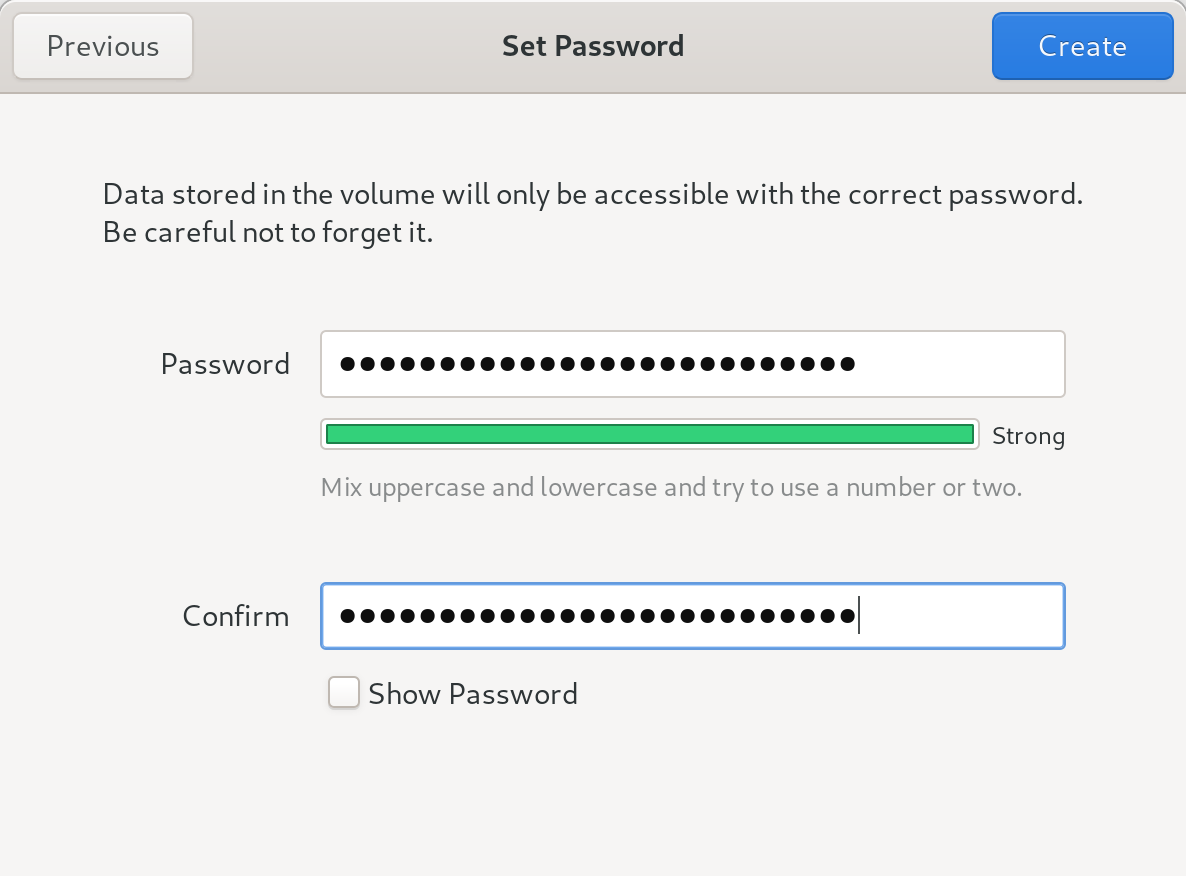
Warning
Since this will serve as a long-term backup, make sure to use a strong passphrase.
Click Format.
A dialog box will appear asking you Are you sure you want to format the volume? appears, click Format.
Once completed, you will see two partitions appear:

Now that you made the backup device, plug in the device you want to backup. Then, open the File Manager: Apps ▸ Accessories ▸ Files.
Click on the disk on the left side column. Fill in the passphrase you set up when you created your Tails devices.
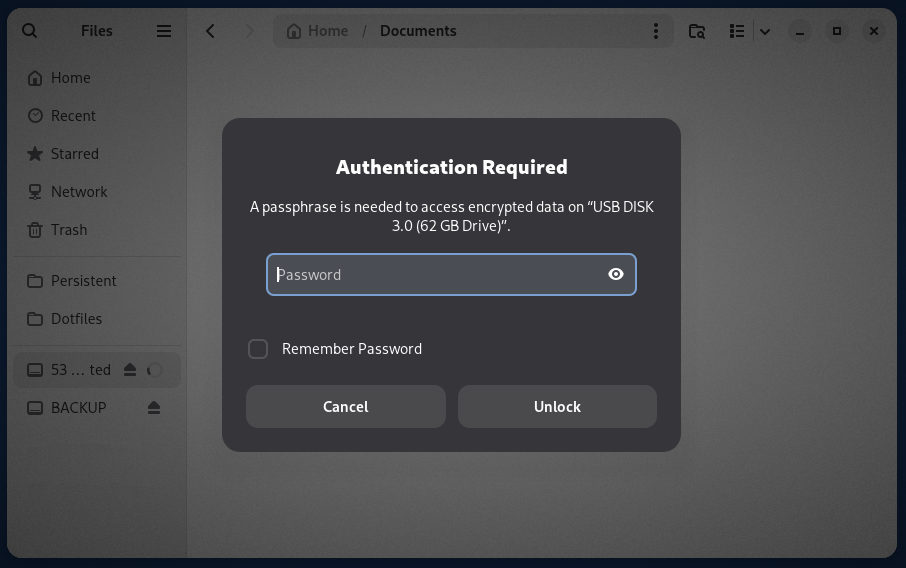
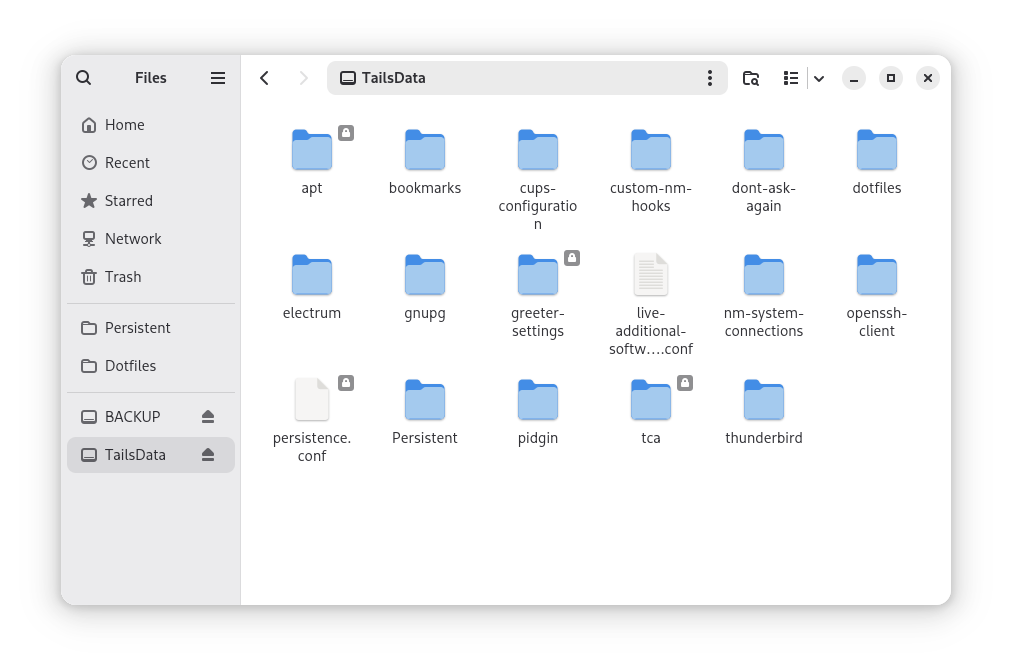
You should now have both the Backup and TailsData partition to be backed up mounted and ready to access.
Create the backup using Rsync
Open a terminal by going to Apps ▸ System Tools ▸ Console.
Next, create a directory on the Backup USB for the device to be backed up - the
command below creates a directory named admin-backup:
mkdir /media/amnesia/Backup/admin-backup
Then, copy the contents of the device’s persistent volume to the directory using
rsync:
sudo bash -c "rsync -a --info=progress2 --no-specials --no-devices \
    /media/amnesia/TailsData/ /media/amnesia/Backup/admin-backup/ && sync"
Note
Please make sure to include the trailing / in the directory
paths in the command above, otherwise the files will not
be backed up correctly.
Once complete, unmount the TailsData partition by clicking the Eject button beside its entry in the lefthand column of the file manager. When its entry is no longer shown in the lefthand column, it is save to remove the Admin Workstation USB.
Repeat these steps for every device, making a new folder on the backup device for each device you back up.
Finally, once you have completed the steps described in this section for each USB drive, unmount the Backup partition by clicking its Eject button. Wait until the Backup USB can be safely removed, and store it somewhere safely.
Note
After the Eject button is clicked, it may be take some time before the drive can be safely removed. Wait until its entry is removed from the lefthand column of the file manager.
Restoring a Workstation from a Backup
To recreate a backed-up Admin Workstation, Journalist Workstation, or Secure Viewing Station Tails USB, you will need
your Backup USB containing the persistent volume to be restored,
a blank USB stick to be set up as the new workstation USB,
an airgapped machine and a USB with Tails already installed, referred to as the host Tails USB in this document. The host Tails USB is only used to transfer files between the Backup USB and the new workstation USB.
The process will require 3 USB ports - if necessary, you can use a USB hub. We recommend labeling USB devices before use, as it can be easy to confuse them.
Prepare the new Tails USB
Follow the guide to creating a Tails USB to install Tails and create a persistent volume on the blank USB stick to create the new workstation USB.
Open the Backup USB and new Tails Persistent Volume
First, boot up the host Tails USB on the airgapped machine, making sure to set an administration password on the Tails Welcome Screen dialog.
Then, navigate to Places ▸ Computer to open the file manager, and insert
the Backup USB. Click its entry in the lefthand column and enter its decryption
passphrase when prompted. Its volume name (Backup in the instructions above)
will appear in place of the generic N.M GB Encrypted name.
Next, insert the new workstation USB, and click its entry in the lefthand
column. When prompted, enter its persistent volume’s passphrase. The volume
name TailsData will appear in the lefthand column.
Copy the Backup to the New Workstation USB’s Persistent Volume
Open a terminal by navigating to Apps ▸ System Tools
▸ Console . Next, use the rsync command to copy the appropriate backup
folder to the new workstation USB’s persistent volume. For example, if the
backup folder to be copied is named admin-backup, run the following command:
sudo bash -c "rsync -a --info=progress2 --no-specials --no-devices \
    /media/amnesia/Backup/admin-backup/ /media/amnesia/TailsData/ && sync"
Note
Please make sure to include the trailing / in the directory
paths in the command above, otherwise the backup files will not
be restored correctly.
Once the command is complete, click the Eject button for the TailsData
volume in the lefthand column of the file manager, wait for the TailsData
entry to disappear from the column, and remove the new workstation USB.
You may now repeat the restore process for any other USBs that you wish to restore, or shut down the host Tails USB and test your new workstation USB by booting it with persistence unlocked and verifying its functionality.